Author: Lori

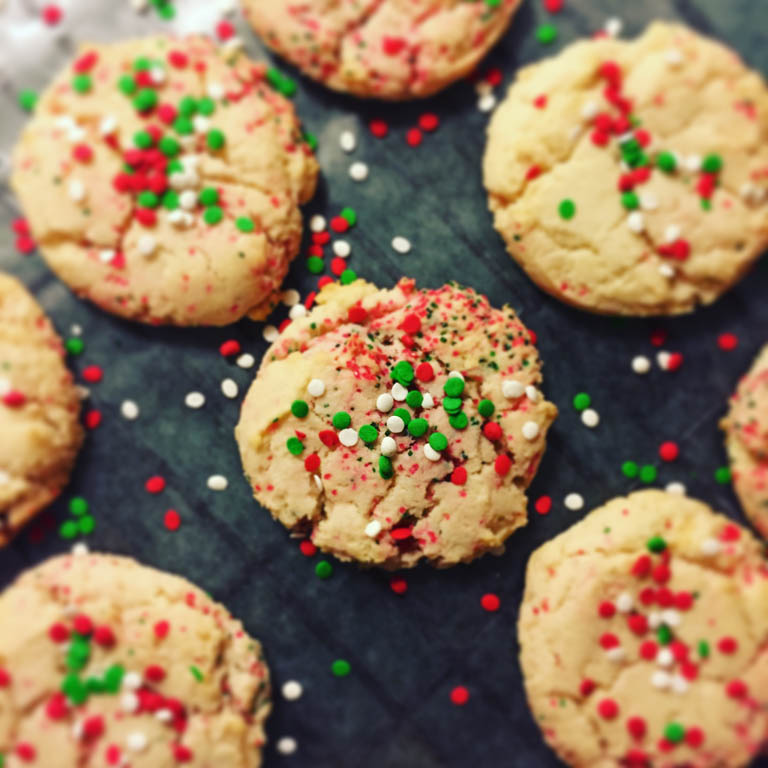
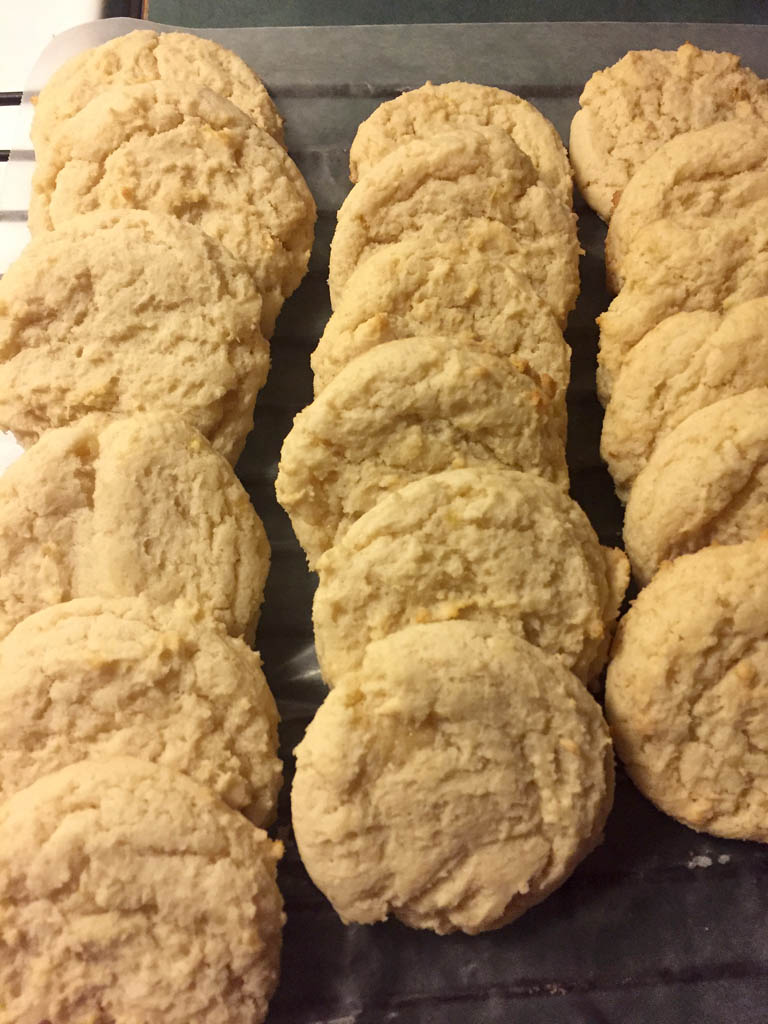
Eggless Sugar Cookies
 For about a couple months, I started a bad habit of going to the grocery store 4-5 days a week. It seemed like we were always running out of something: dryer sheets, tissues, chocolate syrup…heaven forbid we run out of chocolate syrup! The tot would not have that! And then there are days where I either forget to take my lunch to work or I just didn’t make one, so I go to the grocery store’s salad bar. Then what happens is after I make that trip to the grocery store I come home and realize that we just ran out of something else…back to the store I go the next day, because we need that said item that we just ran out of, pronto! And when I write my list for the initial grocery shopping day I always somehow forget something, even when I go through the fridge and cupboards! Stress-related? Probably.
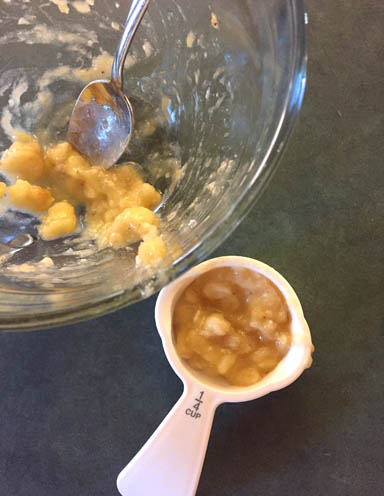
On any given night after I put Alex to bed, I make a batch of cookies because it’s been a stress-reliever for me, and the cookie jar is empty…we can’t have that happen! One item I did run out of and forgot to pick up was a dozen eggs. I was unaware of this while making sugar cookies, when I started throwing in the wet ingredients into the mixer bowl. I open the fridge and…where are the eggs?? What now?? It’s late, the tot is in bed, and I don’t want to bother the husband while at work to make a special trip for me. Then that was when I eyeballed the last 3 really ripe bananas in the basket in the corner of the kitchen.

 I never used bananas as an egg substitute; it was always applesauce. And since I had no applesauce either, I grabbed a banana, smashed it in a small bowl, guess-timating that it made two 1/4-cups for each egg. I folded the smashed banana into the mix and then added the dry ingredients. The consistency was about the same for this sugar cookie dough. As for the taste, it’s sugar cookie dough with a hint of banana! Another bonus to this recipe is that you can safely eat the cookie dough, because…yep, no eggs!
 The origins of this recipe come from my 8th grade home economics class (remember those classes?). I’ve been using the same recipe ever since but altered it a little because it used to have that starchy taste to it.
If you want to use a banana, go for it! Just one large, ripe, mashed banana creates a 1/2 cup, enough to equal 2 eggs. The slight taste gives off a nice little twist to the traditional sugar cookie. I think next time I should try plantains for these cookies! As for my bad grocery shopping habit, the writing of the grocery list is getting better, and I’m not missing out on items as much. And I’m now packing more lunches. 🙂

EGGLESS SUGAR COOKIES
1 cup (2 sticks) softened margarine
2 cups granulated sugar
1 ripe banana, mashed well
2 teaspoons vanilla extract
4 cups all-purpose flour
4 teaspoons baking powder
1-2 cups of raisins and/or sprinkles, optional
• Preheat oven to 400 degrees. Spray cookies sheets with non-stick cooking spray or line with silicone liners.
• In a large bowl, combine flour and baking powder; set aside.
• In a large mixer bowl with paddle attachment, mix together margarine and sugar until soft and fluffy, 2 to 3 minutes.
• Add mashed ripe banana and vanilla extract, and mix well.
• Gradually combine flour mixture with wet ingredients until well mixed. Fold in raisins if desired.
• Using a cookie scoop, drop dough onto prepared cookie sheets, and bake until slightly golden on the bottom. 8-10 minutes for small cookies, 11-12 for medium cookies, and 14-15 for large cookies.
• Cool completely on wire racks. Enjoy!
Crunchy Cereal Cookies…and Other Things
 I’ve gone silent here recently, but it wasn’t my intention. A couple weeks ago I got a call from the hospital regarding my dad and his struggle with pneumonia. What started out as a cold turned for the worse for him, and after a week-and-a-half confined to a hospital bed, comfort measures was the last resort. The doctors and nurses did all they could to get his oxygen levels up, but after trying to fight with him to keep the mask on numerous times, I knew it was time…Dad suffered enough…and he also knew it, too.
The most chilling thing Dad said to the hospital chaplain after he explained what was going to happen to him, Dad said, “I’ve been dead already.”
I understood 100% what he meant by that. He never wanted to go into the nursing home in the first place; he just wanted to stay home, but he couldn’t. Since last summer he’d go into the hospital every single month for an infection, and each time there was something else wrong with him. His body was failing him.
So from about 2:30 p.m. Wednesday afternoon to 2:30 a.m. Thursday morning, Dad gone without his oxygen mask, and during that time he would fall asleep, breathing irregularly, wake up a couple times, but after the second time, he fell back to sleep, but never woke up again. He was dreaming; he was seen with his hands in the air, acting like he was pointing out at something, pounding something like he was using a hammer, mouthed out words I couldn’t understand…I think he was working on his new home in heaven. The nurses waited until I got to the hospital before removing the mask so he could see me and we both exchanged “I love you.” Mike took the night off from work to join me until my brother came, around 10:00. I stayed until 11:00 before the snowstorm got worse. Robb said he was okay with me going home, so I made my cautious trek home in the pouring snow.
It was about 2:00 in the morning when Robb said Dad was still breathing and making some noises, so he dozed off until about 2:30. Then he saw a nurse messing with some of the gadgets near the bed, then dozed off for about 10 minutes more until he was awaken by the nurses.
And that was it.
I got the call from Robb after 3:00, and told him to go back to Dad’s house, get some rest, and we’ll meet up in the morning to go to the funeral home.
I’m very surprised at myself with how well I’m taking all this, but I won’t be surprised when a month or two rolls around and it may hit me, just like it did with Mom 6 years ago. I was too busy making sure things were taken care of, trying to catch up with things at home, keeping the tot busy, although she has been very out of sorts through this whole ordeal.
We laid Dad to rest the day before Valentine’s Day…and a very heart-broken holiday it was. Mike and I did get a chance to go out to dinner last Saturday, but I was numb by everything.
Now it’s time to heal, but also time to wrap up some unfinished business and put a year and 4 months of very emotional stress and sadness behind me.
Right now we’re preparing ourselves for the big move, but it’s not where you think. For the longest time I’ve been telling everyone that we plan to move into Dad’s house and give it some TLC. But after some long thought, Dad’s house just isn’t right for us. It’s a great house in a great location, but we really need a place where ALL of our stuff can fit comfortably, and for what I had planned for it, we might as well build a house.
So it’s back to our old plan of buying a house, and it didn’t take me long to find one for sale just a few blocks away. This house I speak of is beyond perfect! I just hope and pray that if we button things up with Dad’s house fast enough, that this lovely 4-bedroom home with gigantic rooms and a “million dollar view” of downtown is still listed for sale. I don’t want to pass this one up…I just don’t…I’m in love with this house!!
After the funeral and after Robb and his family left to go home, we went back to our little shoebox and just took it easy. What did I do? I took a nap and stretched out on the couch and watched old wrestling pay-per-views with Mike on WWE Network and played with Alex. It was just a time for us to breathe a little, the first time in a very long time.

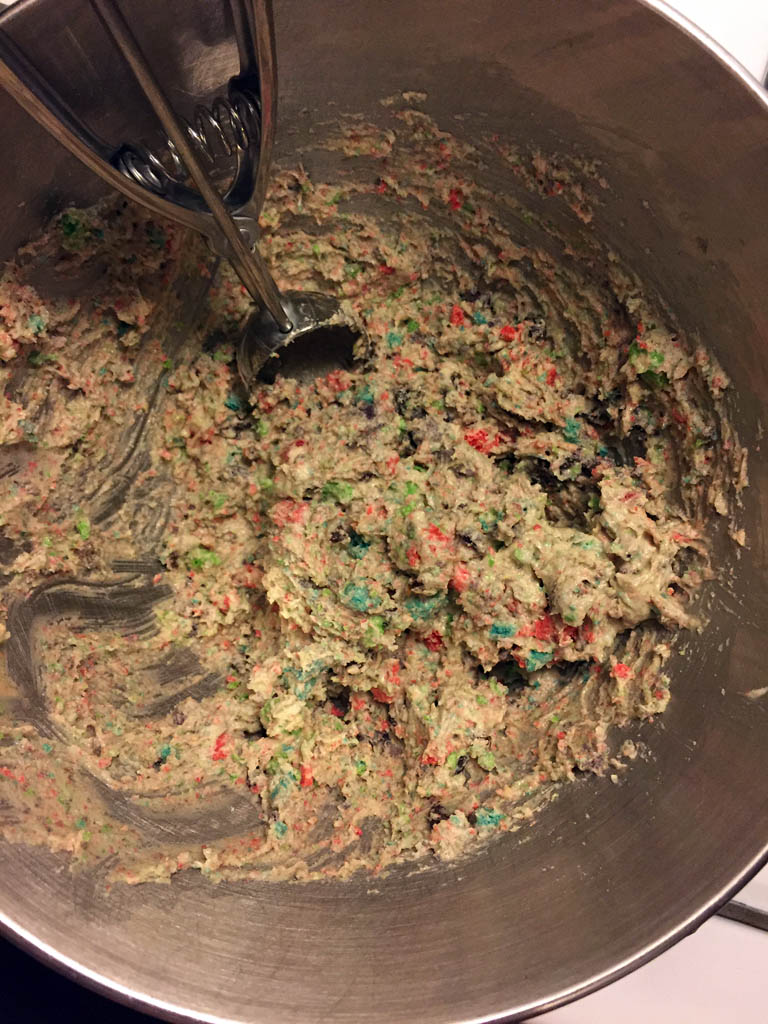
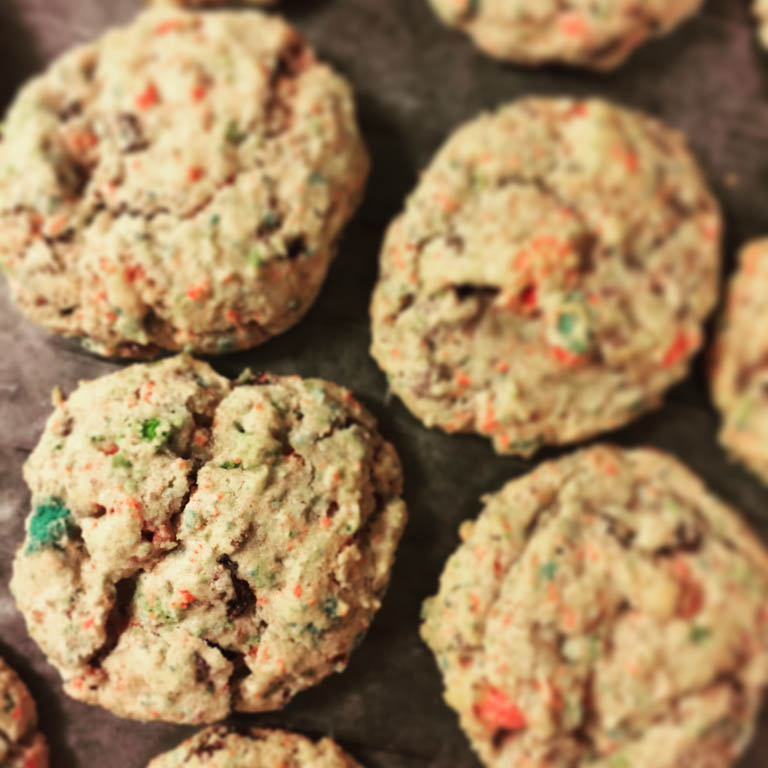
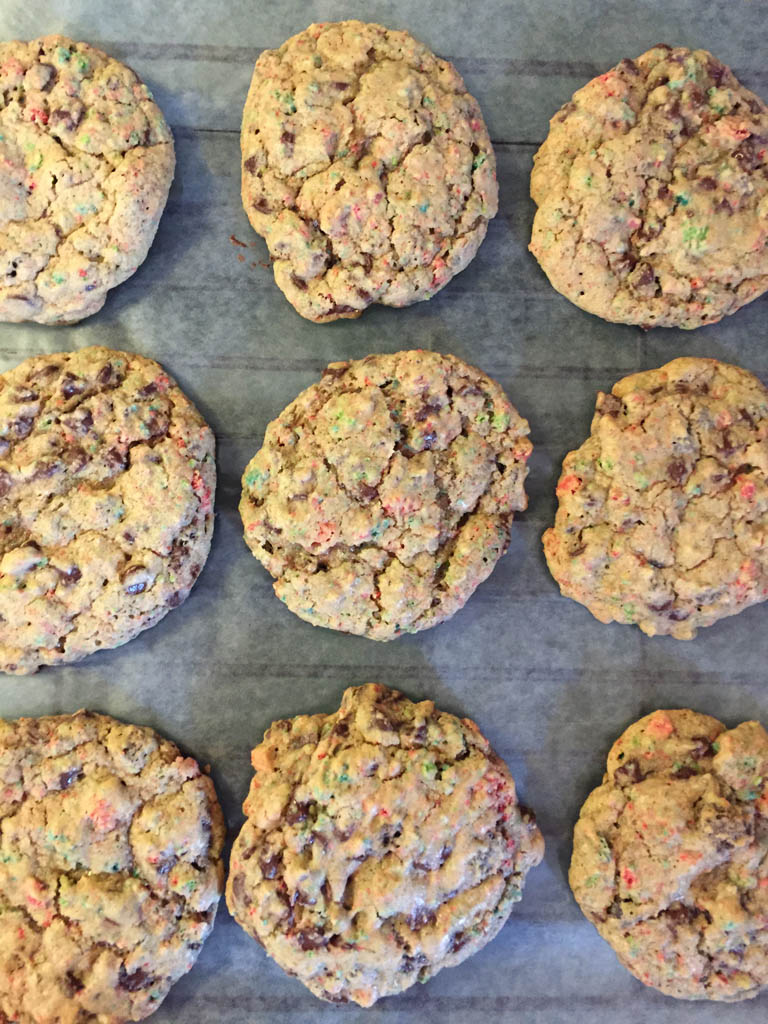
The next day I went back to work, surprising a lot of people, thinking I wasn’t returning until the following day, but I wanted normalcy. After a day of work and a visit with Dad’s insurance agent, I made cookies. They were sugar cookies which I’ll share with you later, but I wanted to share the ones I made with cereal first, because I have a soft spot for cereal, and I think Dad did too. He always ate cereal in the mornings before he left for work. You would always find about 5 boxes in the kitchen cupboard, one for each work day, I guess. Plus there were five people living under one roof! We all loved cereal! I used Cap’n Crunch’s All Berries cereal for these cookies, but you can use others too, like Fruit Loops or Fruity Pebbles. Don’t crush your cereal completely. Leave most of the pieces in large chunks so you can have a little crunch in your cookies. These went fast, and I took some to work as well.
 So now moving on to bigger and better things. Getting my life back on track, I enter into this new chapter where we’ll be in a new house hopefully soon and Alex will begin school in the fall. I’ll miss my dad, but he’s watching. I hope he understands our reasons for not moving into his house, but I’m sure he wants us to be happy, wherever we end up at.
CRUNCHY CEREAL COOKIES
1 ½ sticks softened margarine
1 cup granulated sugar
2/3 cup light brown sugar
1 teaspoon vanilla
1 egg
2 cups all-purpose flour
3 cups colorful cereal (like Cap’n Crunch berries or Fruity Pebbles), lightly crushed, but not to fine pieces
½ teaspoon baking soda
1 teaspoon baking powder
1 cup raisins (optional)
– Preheat oven to 350-degrees. Prep your baking sheets with silcone mats or with non-stick cooking spray.
– In a large bowl, mix together the flour, baking soda and baking powder; set aside.
– In a mixer bowl, mix your margarine and sugars until soft and fluffy. Then add vanilla and egg; mix well.
– Gradually add your dry ingredients with wet ingredients. Fold in crushed cereal and raisins.
– Drop by teaspoonfuls onto baking sheets and bake for: 8-9 minutes for small cookies, 13-14 minutes for medium-sized cookies, or 15-17 minutes for large-sized cookies*
– Allow to cool completely on baking racks.
*I mostly use my medium-sized scoop for all my cookies, but if the occasion calls for it, I go for large or small scoops.
Cream Puffs

Cheers to 2017…18 days later!!
I’m overjoyed that this year showed up, and the door to 2016 has been shut, locked, and hammered down, never to be opened again! I’m ready for new opportunities, new adventures and a new home! We are so close to sealing the deal, and now that the tot’s birthday has come and gone, the storm begins as we sloooowly move back to the hometown I grew up in, and you all will be coming with me!! I plan to share all the craziness here, from the fixes to the official move, to the anxiously-awaited remodel. And of course, the baking and the cooking and the photo-taking (A new Snaps post to come soon…I’m waaaaaaaay overdue!!)
As we slow down from all the eating, baking, holiday chaos and birthdays, and head back to the gym to prep our winter bodies for summer, I’m cracking open my mom’s recipe box. Honestly, I haven’t done it enough, and there’s just so many things I still have yet to try and share with you all. It’ll get even more exciting once I begin baking in the same kitchen where it pretty much started it all. And speaking of that tiny kitchen, the ideas I have sketched out for it seem so good on paper, but hopefully will work out in real life! Advice from Dad is good too! Thank goodness he still has a sharp mind that he can tell us all about the plumbing and the wiring and what we can and cannot do, like move the refrigerator to a different location. He said that’s a no-no! Placing a wall oven where the fridge currently is would block access to upstairs plumbing, and he doesn’t want us to run into problems of having to remove cabinetry and appliances just to fix a leak. He may be in a nursing home, but he’s still keeping watch over us…
Well, I do have an idea though…that’s dangerous!


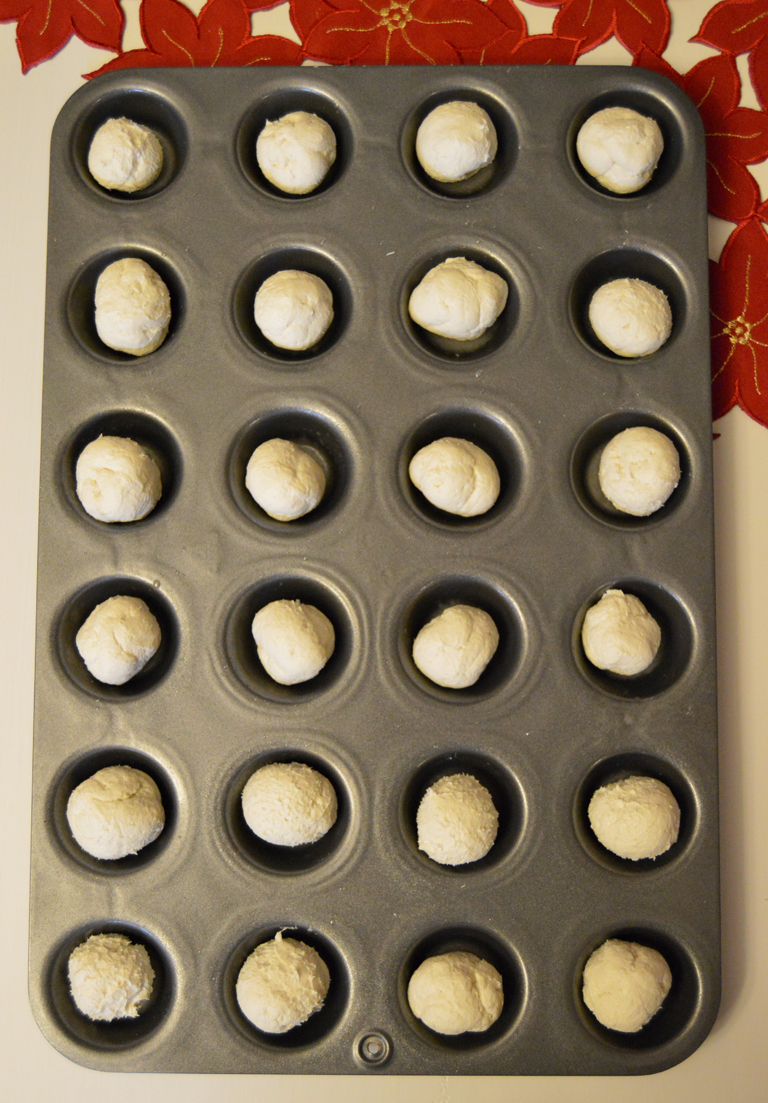
So onto this new year with not only the things I love to bake, but to challenge myself on things I normally don’t bake, like cream puffs. I love these little guys, but never once have I tried it. Normally I back off from recipes that involve prepping from the stove top before the oven; I prefer the mixer. This time, one of my resolutions for 2017 is to try new things and give recipes I normally won’t do a chance, so okay, let’s try out these cream puffs.

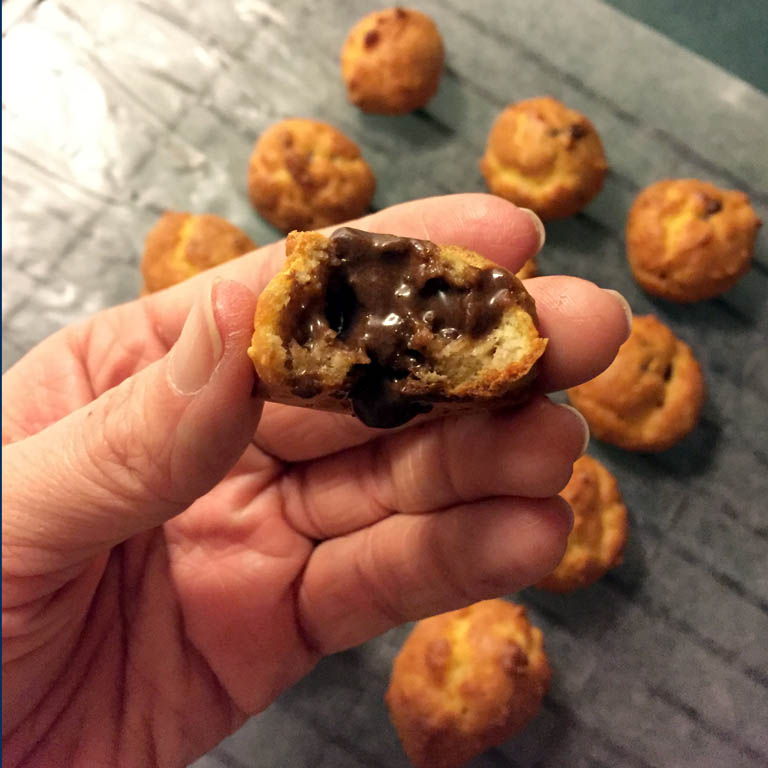
What I love about these is the filling. Instant chocolate pudding is what’s used in the original recipe, but instead, I went for a chocolate whipped frosting. I’m a frosting fiend; I could live on it! Using whipped is better than using a regular type of frosting because it’s got a lighter, smoother taste and texture, which work pretty good with these puffs. To fill the puffs I used a disposable frosting bag and a tip with a filling tip. I carefully inserted the tip into the puff and squeezed a small amount of frosting inside. Be careful not to overfill; you can break your puff! But if you make larger puffs you can cut them up in half and dab a nice helping of frosting on one side and smoosh ’em back together…oh yeah, much better!
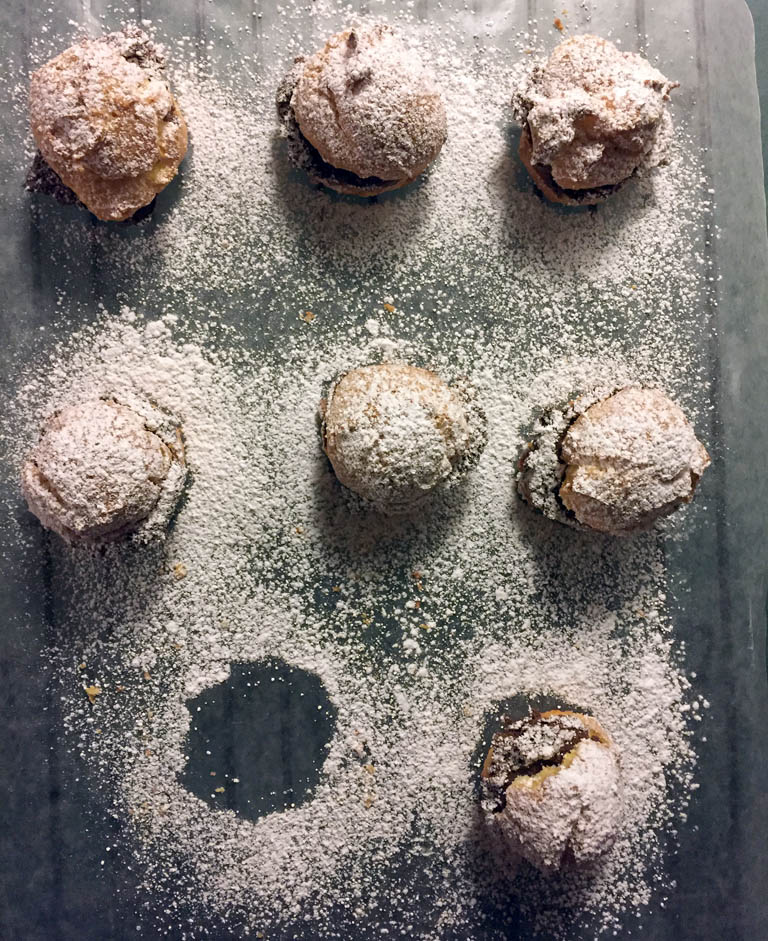
 Once finished these bite-sized treats are so nice and powdery on the outside and chocolatey on the inside, you can’t just have one! So with these I’d say use whatever filling you prefer: frosting or pudding, they’re both just as good!
Cream Puffs
(makes a little over a dozen small puffs; 7-8 large puffs)
1/3 cup water
2 tablespoons margarine
1/2 cup pancake/waffle mix (like Bisquick)
2 eggs
1 container of chocolate whipped frosting
Powdered sugar
• Preheat oven to 400 degrees.
• Heat water and margarine to a boil in a 2-quart saucepan. Add Bisquick all at once. Stir over low heat until mixture forms a ball. Remove from the heat; beat in the eggs one at a time. Place pan back on the heat and stir until smooth.
• Drop dough by rounded teaspoons or tablespoons onto cookie sheet. Bake until puffed (25-30 minutes). Cut small slit in each puff to allow steam to escape. Allow to cool completely.
• Take a frosting bag with filling tip and fill with whipped frosting of your choice. Insert tip into the puff, and carefully squeeze the frosting inside. Sprinkle powdered sugar over top each puff. You can also cut each puff in half, spread one side with a heaping amount of frosting, and place back together.
*If you’re unsure how to prep a disposable frosting bag with a decorating tip, step this way! She shows you how to prep with royal frosting, but you can do it with regular frosting too. It helped me!
Mini Walnut Pies – And Pretzel Pies Too!

I’m feeling pretty nostalgic these days. The things that are keeping me smiling through the last days of a horrifying 2016 are Christmas, New Year’s, the holiday baking, and the day we move into my dad’s house…my childhood home.
Yes, we’re leaving the 13-year-old shoebox for a 100+ year-old house. It was the last item on the long laundry list of things to do in regards to Dad this year. We were able to sell his car without fail, and now, after 3 months searching for a lawyer who was able to call us back, one actually called us back, seal the deal, and we were given the okay to move in at any time. Now the challenging part: the stuff. We need time to go through, move around or move out, and clean the rooms. With our furniture, and Dad’s, we now have double the stuff! Our stuff, his stuff…OMG!!!
So for now we’re in the “calm before the storm” phase since we are gonna wait until after Alex’s birthday to put on our work pants and get going. But for now, I still go over there to check the mail, maybe toss out some things that expired or have no use for, and empty out dresser drawers. There’s now a big stack of clothes on his bed, and I’m gonna have the men in the family go through them before they’re given to the local Goodwills. Besides the cleaning and moving, the other exciting but challenging stage of this move is the flipping. Interior and exterior, the house is going to get a facelift. Most importantly we gotta hire someone who is an expert with plaster so we can get part of the ceiling fixed in what will be Alex’s bedroom. No moving in until that’s done! So who wants to crawl up into the attic and check above the ceiling to be sure there’s no leak sneaking in??

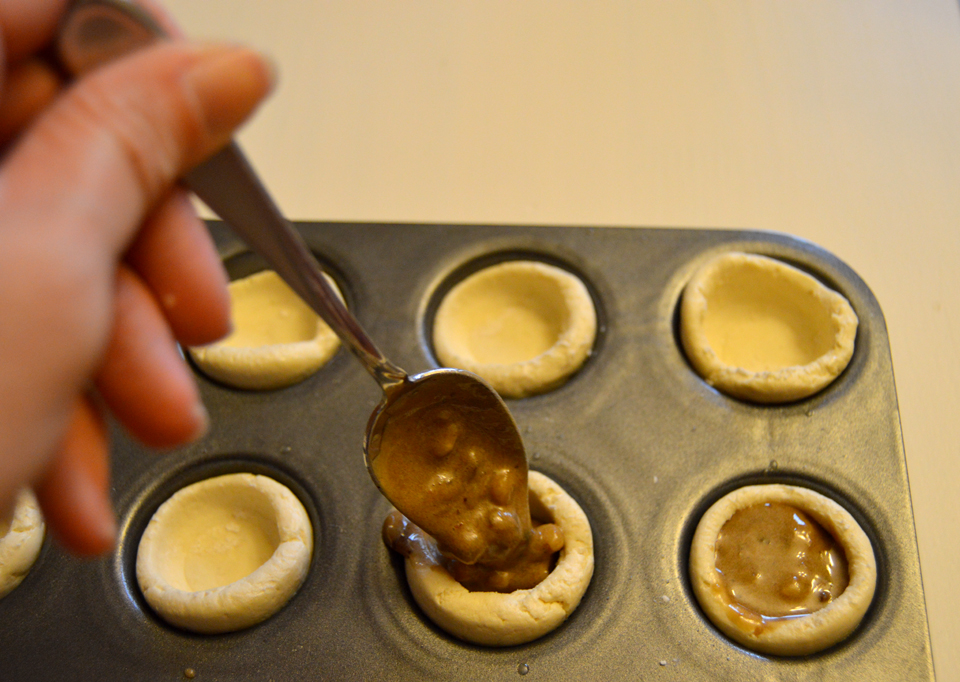
Even these exciting moments are in fact during unfortunate circumstances, especially having to put Dad in a nursing home, it makes all parties involved feel good that the house is still going to be within the family. Mike and I are excited, but yet nervous, due to what we’ll be up against, but I’ll be making a return to the place where my baking obsession began, the tiny kitchen. Thousands of cookies and desserts came out of that kitchen with love and dedication. Mom taught me a lot in that little room with a quarter of the counter space that my current kitchen has. Which is why these mini walnut pies bring back memories of her and I making them together….or she was making them while I took a spoon to the walnut/brown sugar filling!
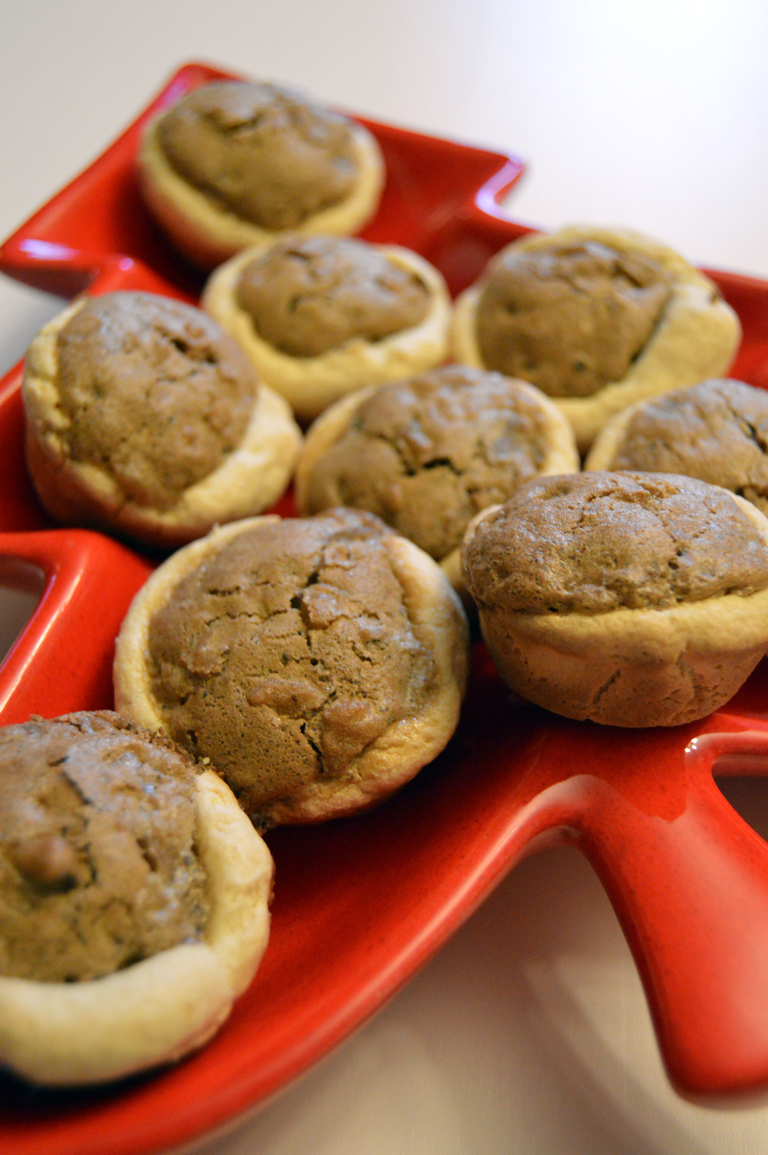
 These mini pies are the only time I’m all about eating walnuts the way they are, not totally minced up. I have a peanut allergy, and my taste buds never enjoyed the taste and textures of other nuts I’m okay to eat. Now that I have a child, I past down the peanut allergy to her, which was what I was afraid of. Then the surprising thing was the allergy tests came back saying she’s allergic to pretty much any nut that is out there: walnut, pecan, peanut, almond, you name it, she’s allergic. She saw me making the walnut versions and she wanted one, and I had to sadly tell her no and explain why. There was a bag of mini pretzels on reserve for another holiday treat on the countertop nearby and thought about taking about a cup of them, chopping them, and using them in this recipe as a substitute. Alex loves pretzels, and oh boy does she love these versions of these mini pies! If you can’t use nuts, there’s always a way around it! But if you have no nut allergy, by all means, add in those walnuts, or pecans, or combine them both!