Cheers to 2017…18 days later!!
I’m overjoyed that this year showed up, and the door to 2016 has been shut, locked, and hammered down, never to be opened again! I’m ready for new opportunities, new adventures and a new home! We are so close to sealing the deal, and now that the tot’s birthday has come and gone, the storm begins as we sloooowly move back to the hometown I grew up in, and you all will be coming with me!! I plan to share all the craziness here, from the fixes to the official move, to the anxiously-awaited remodel. And of course, the baking and the cooking and the photo-taking (A new Snaps post to come soon…I’m waaaaaaaay overdue!!)
As we slow down from all the eating, baking, holiday chaos and birthdays, and head back to the gym to prep our winter bodies for summer, I’m cracking open my mom’s recipe box. Honestly, I haven’t done it enough, and there’s just so many things I still have yet to try and share with you all. It’ll get even more exciting once I begin baking in the same kitchen where it pretty much started it all. And speaking of that tiny kitchen, the ideas I have sketched out for it seem so good on paper, but hopefully will work out in real life! Advice from Dad is good too! Thank goodness he still has a sharp mind that he can tell us all about the plumbing and the wiring and what we can and cannot do, like move the refrigerator to a different location. He said that’s a no-no! Placing a wall oven where the fridge currently is would block access to upstairs plumbing, and he doesn’t want us to run into problems of having to remove cabinetry and appliances just to fix a leak. He may be in a nursing home, but he’s still keeping watch over us…
Well, I do have an idea though…that’s dangerous!


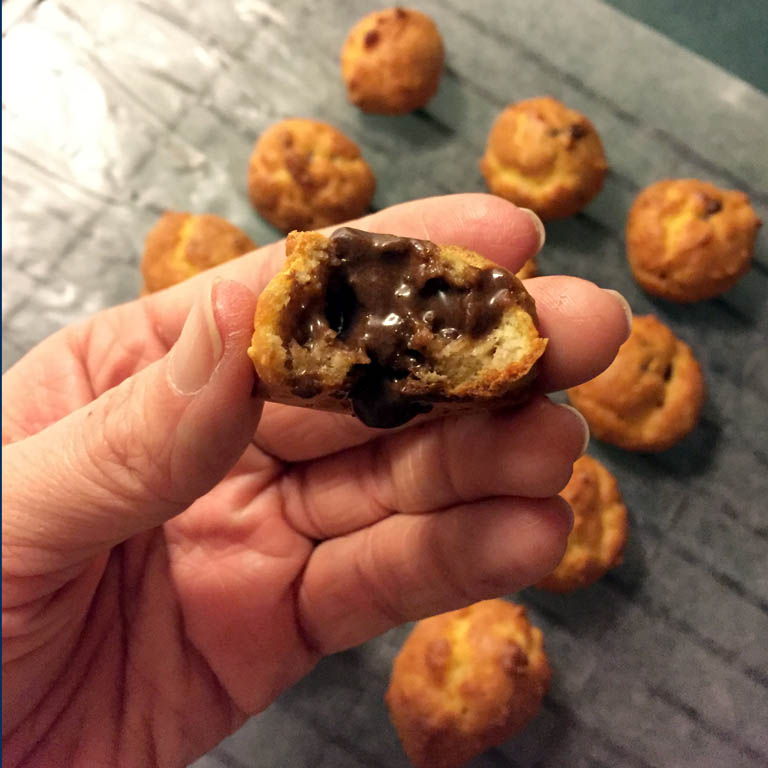
So onto this new year with not only the things I love to bake, but to challenge myself on things I normally don’t bake, like cream puffs. I love these little guys, but never once have I tried it. Normally I back off from recipes that involve prepping from the stove top before the oven; I prefer the mixer. This time, one of my resolutions for 2017 is to try new things and give recipes I normally won’t do a chance, so okay, let’s try out these cream puffs.

What I love about these is the filling. Instant chocolate pudding is what’s used in the original recipe, but instead, I went for a chocolate whipped frosting. I’m a frosting fiend; I could live on it! Using whipped is better than using a regular type of frosting because it’s got a lighter, smoother taste and texture, which work pretty good with these puffs. To fill the puffs I used a disposable frosting bag and a tip with a filling tip. I carefully inserted the tip into the puff and squeezed a small amount of frosting inside. Be careful not to overfill; you can break your puff! But if you make larger puffs you can cut them up in half and dab a nice helping of frosting on one side and smoosh ’em back together…oh yeah, much better!
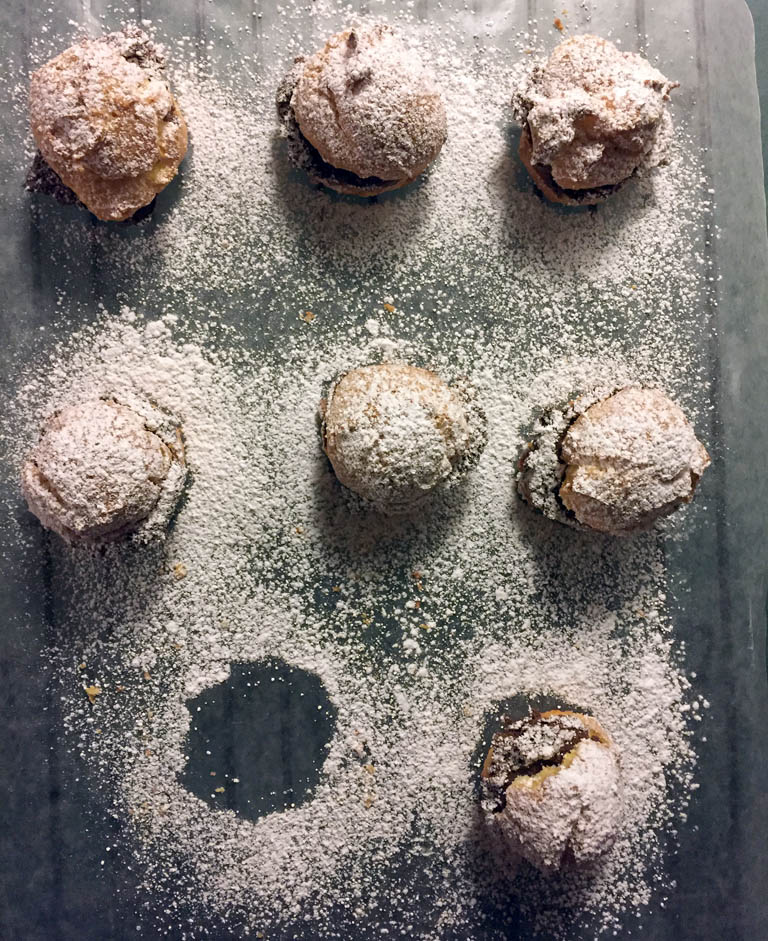
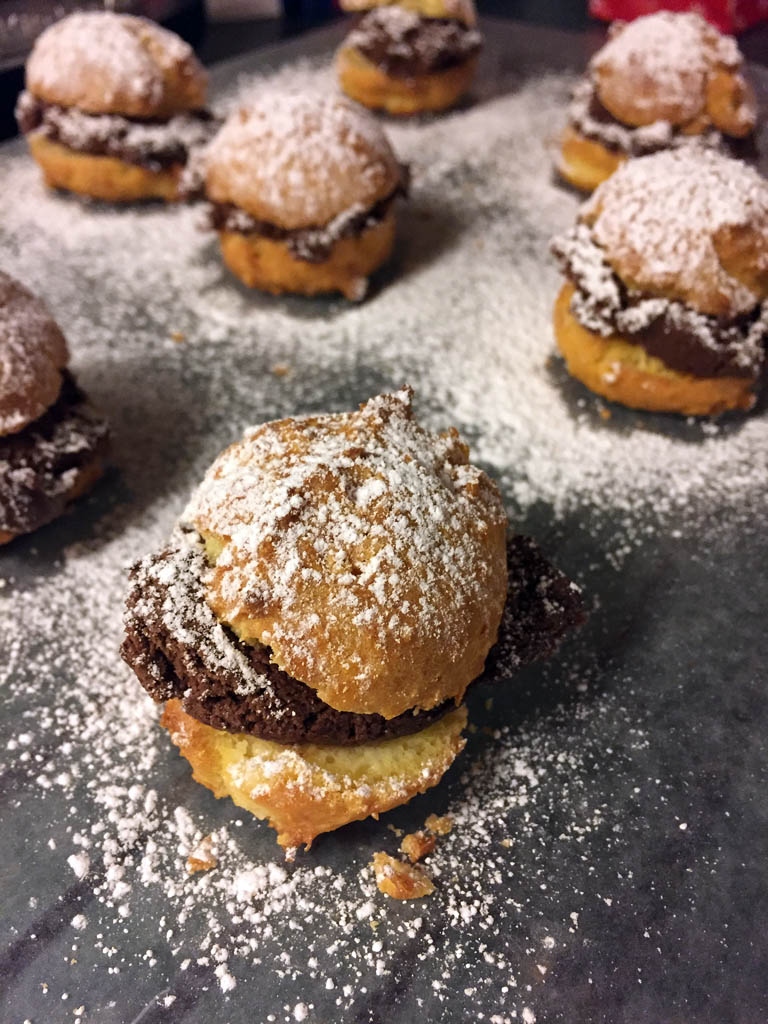
 Once finished these bite-sized treats are so nice and powdery on the outside and chocolatey on the inside, you can’t just have one! So with these I’d say use whatever filling you prefer: frosting or pudding, they’re both just as good!