I’ve been on a major chocolate kick (when am I not!!), but this particular time has gotten me into all things chocolate-covered. Every Christmas my mother-in-law would take a bunch of raisins, put them in mini cupcake liners, and cover them with chocolate…..pure bliss! Recently I’ve been going through Pinterest and pinning all kinds of chocolate-related stuff, then the thought hit me about the recent strawberry purchase and feeding the tot blueberries, raspberries and blackberries….let’s combine these things….OMG!!….Chocolate cover all of these things!!!

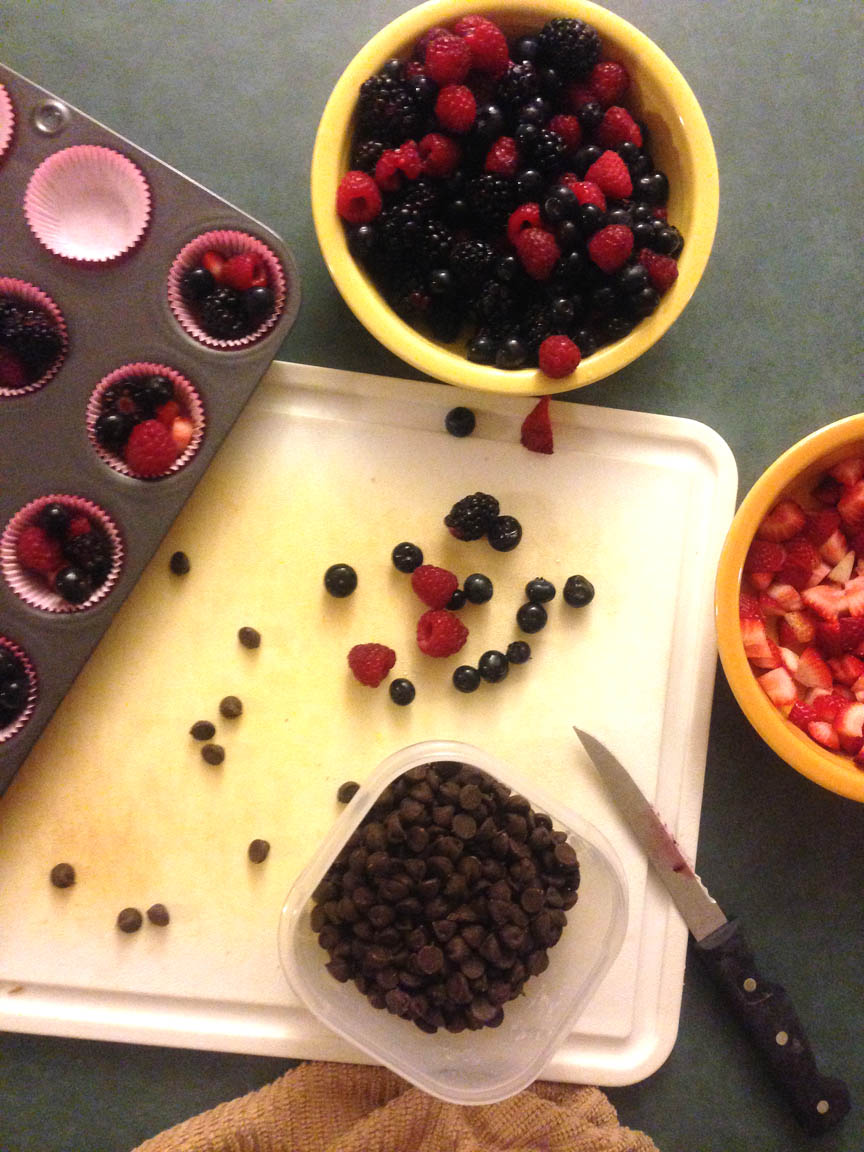
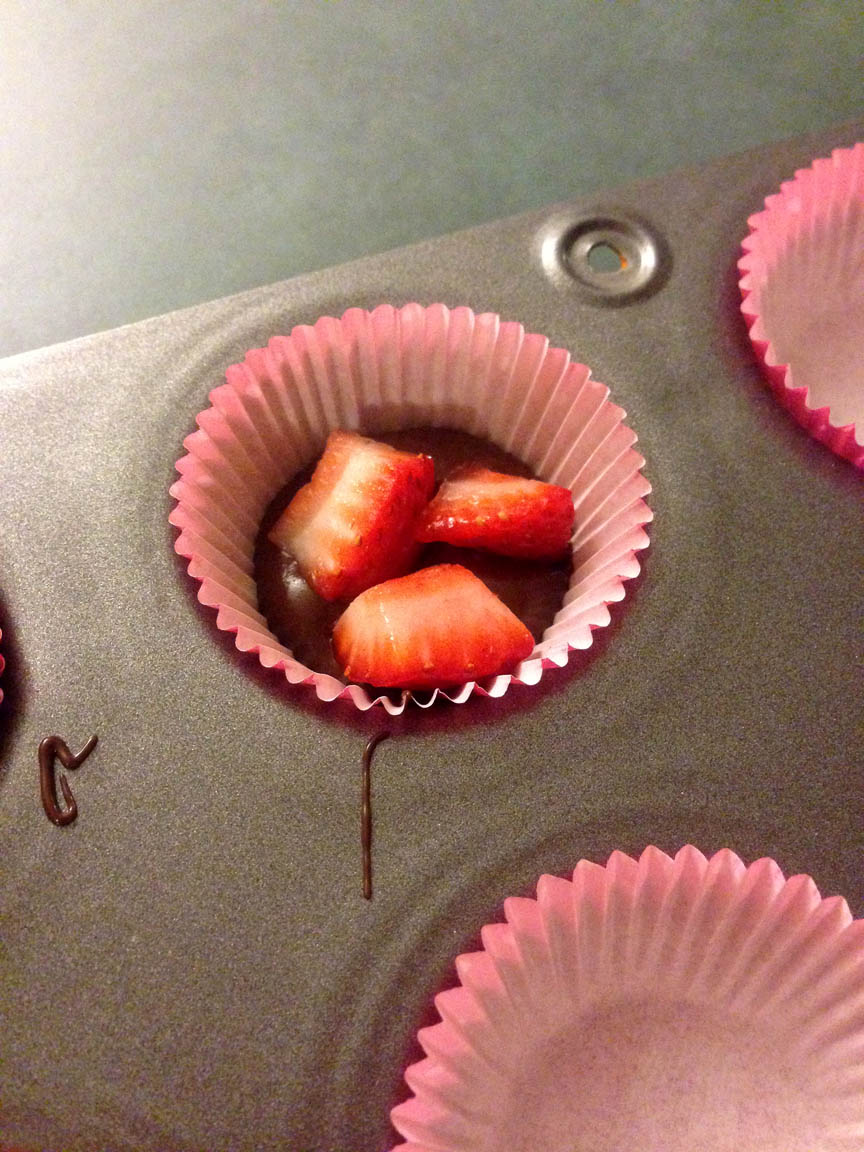

I took the idea from my mother-in-law, but with berries. It’s so simple to do, and so dangerous to any chocolate craze!!
Now the taste buds feel better, and you also get your healthy antioxidants too!
Happy Baking!
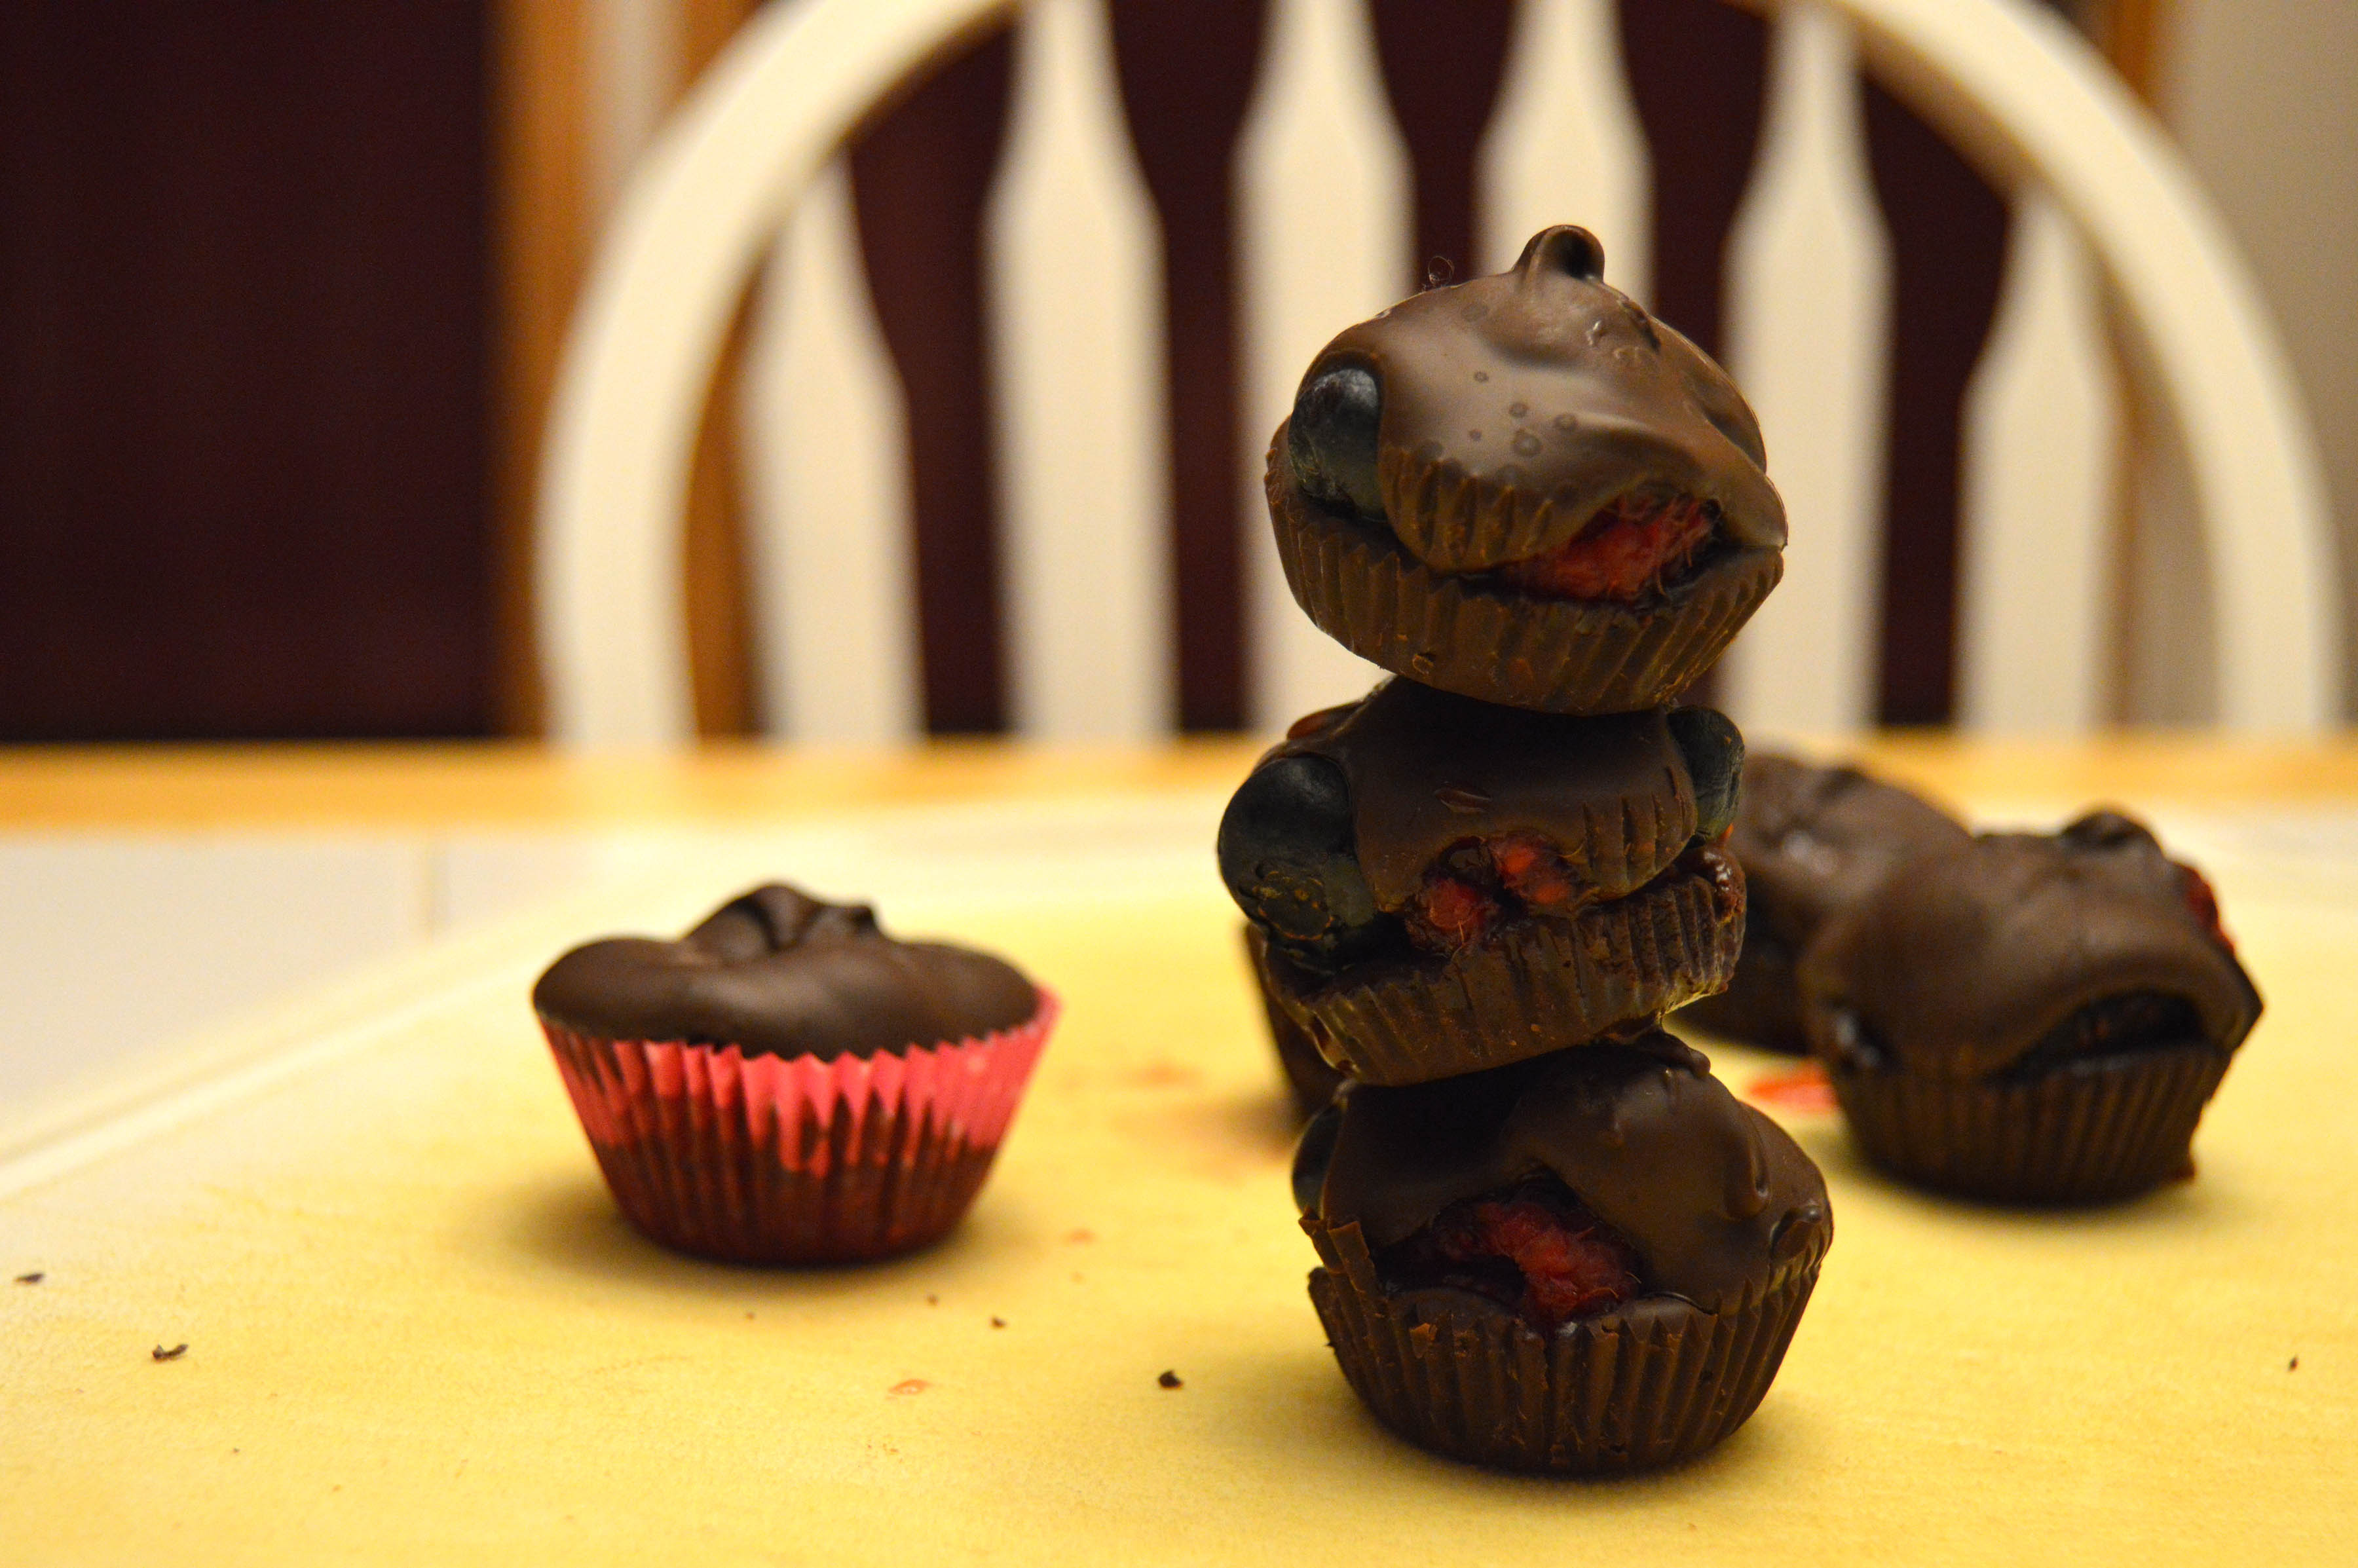
Chocolate-Covered Berries
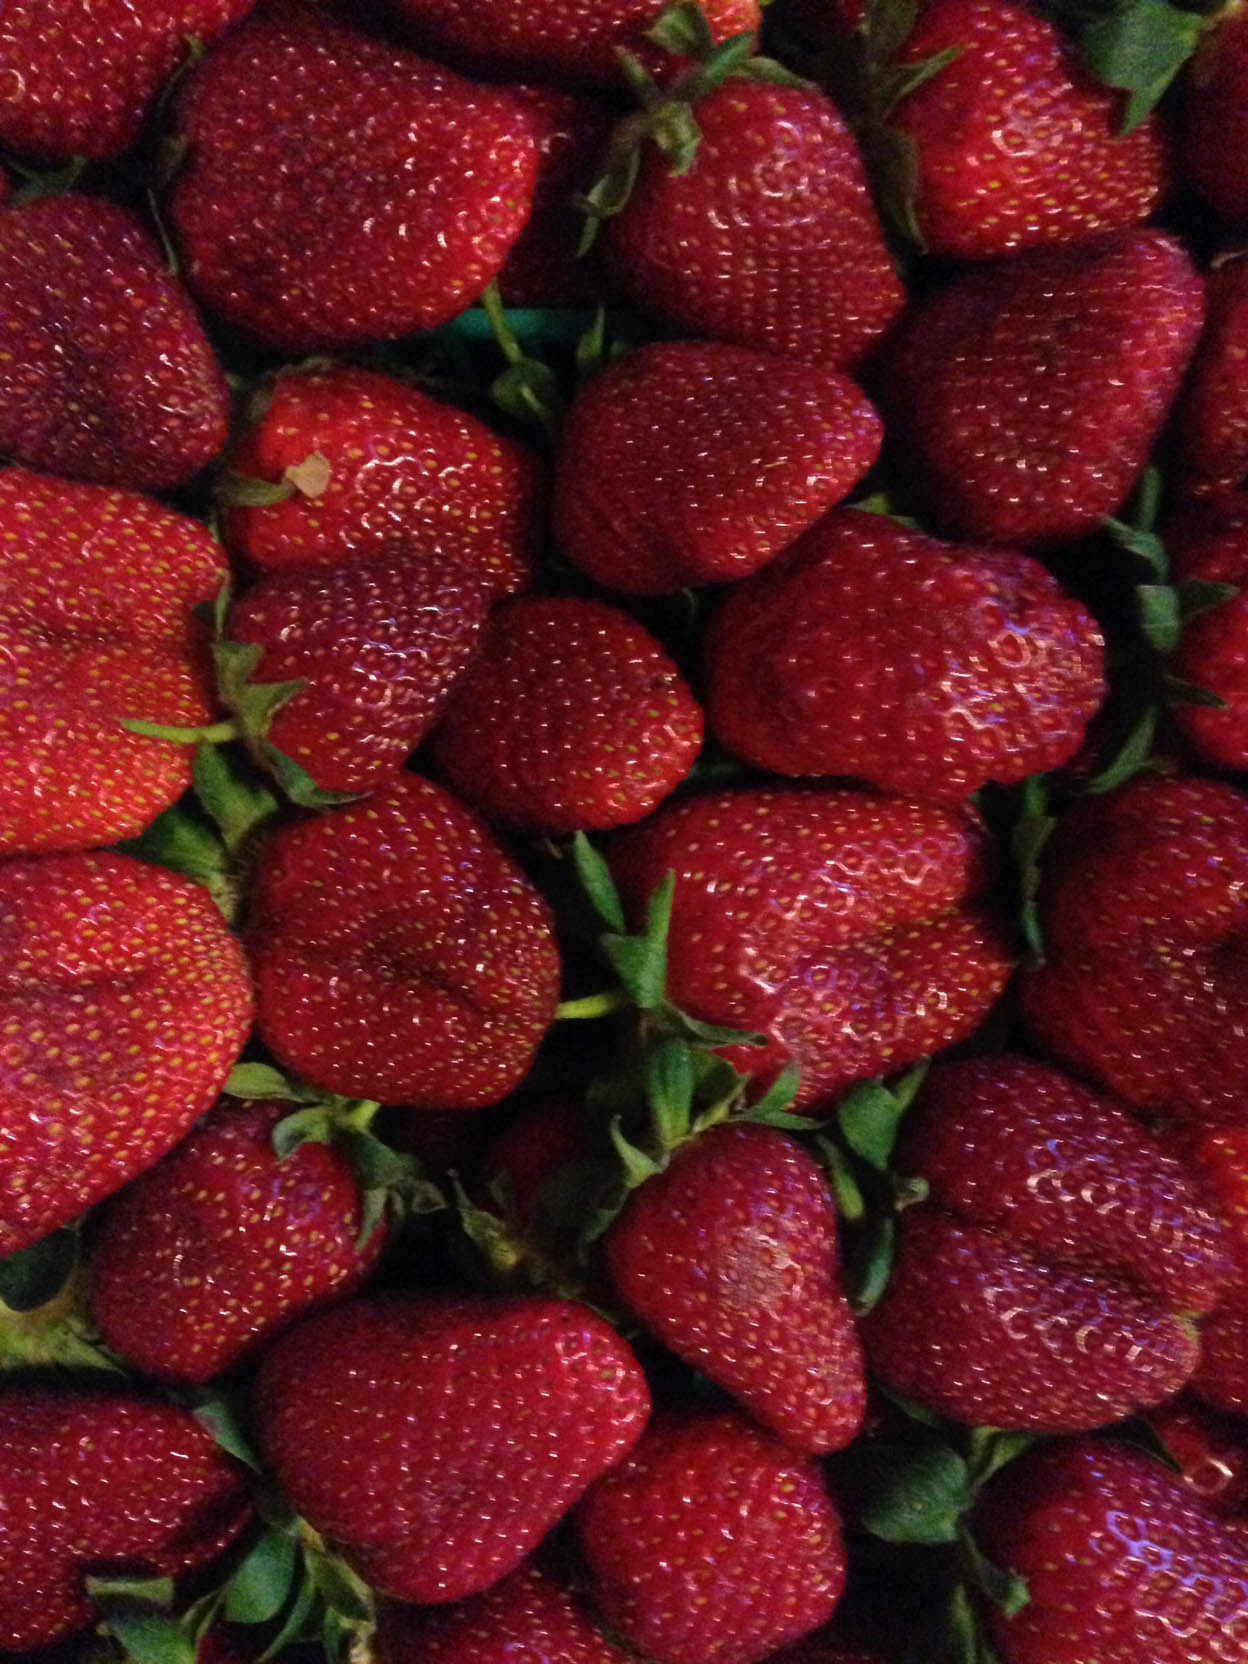
1 package strawberries (1 lb.), washed & drained, then cut up into small pieces
1 package blackberries (6 oz.), washed & drained, cut each one in half
1 package raspberries (6 oz.), washed & drained, cut each one in half
1/2 pint blueberries, washed & drained
1 large package of semi-sweet chocolate chips OR 1 package of chocolate bark*
Mini cupcake liners