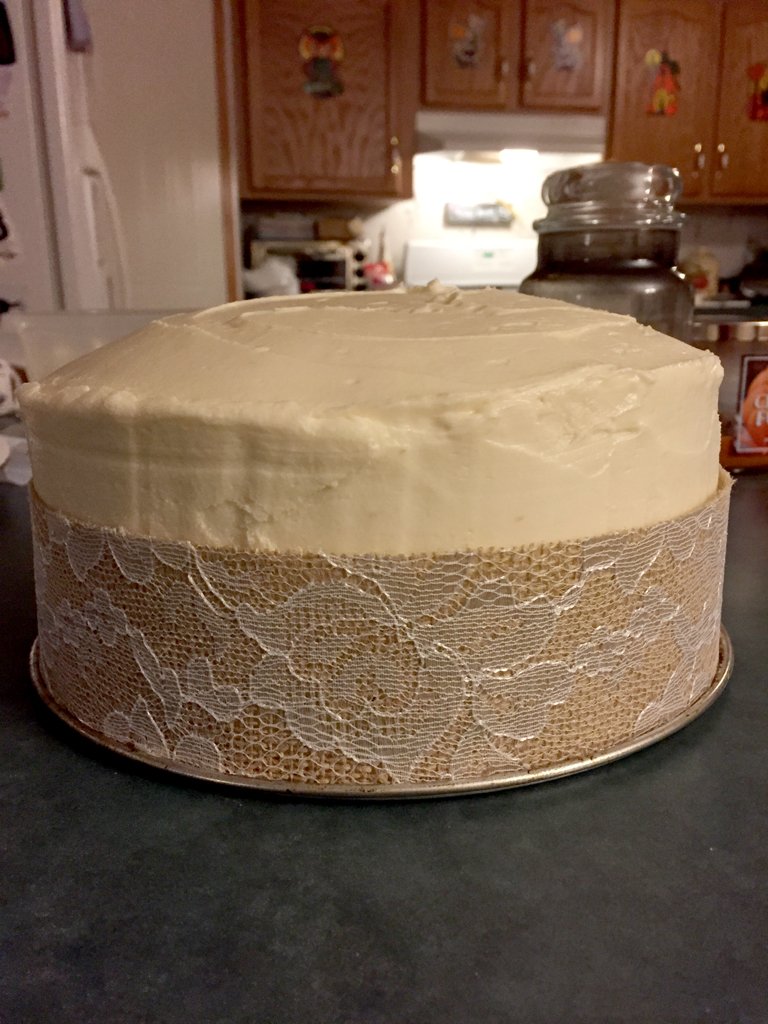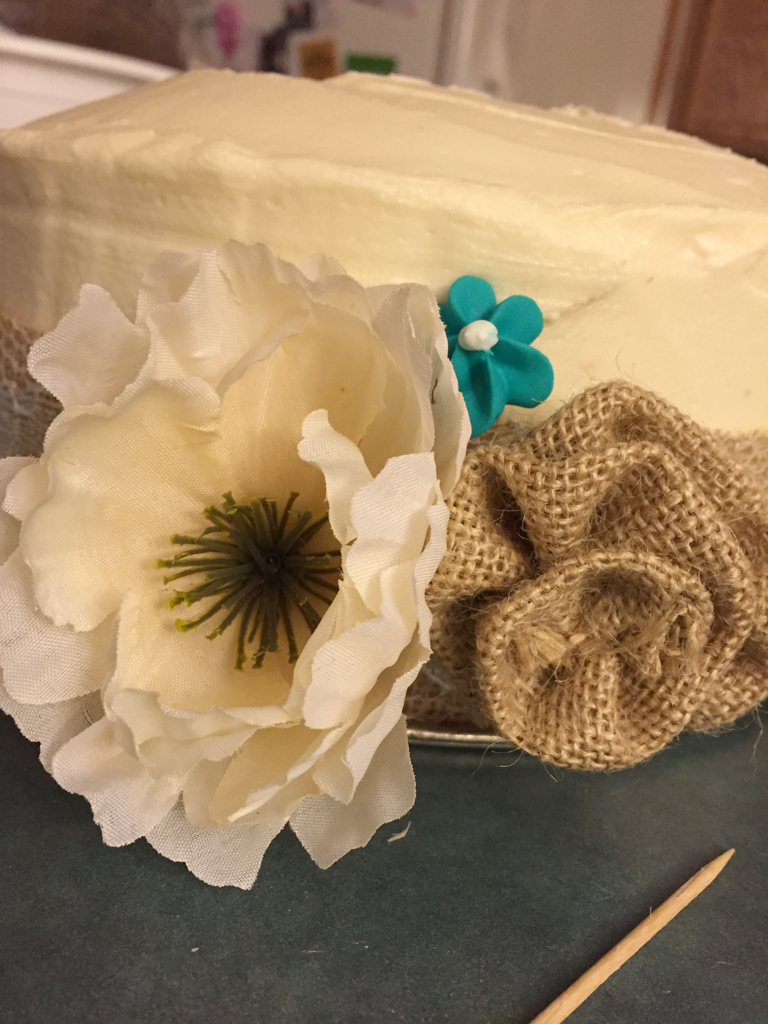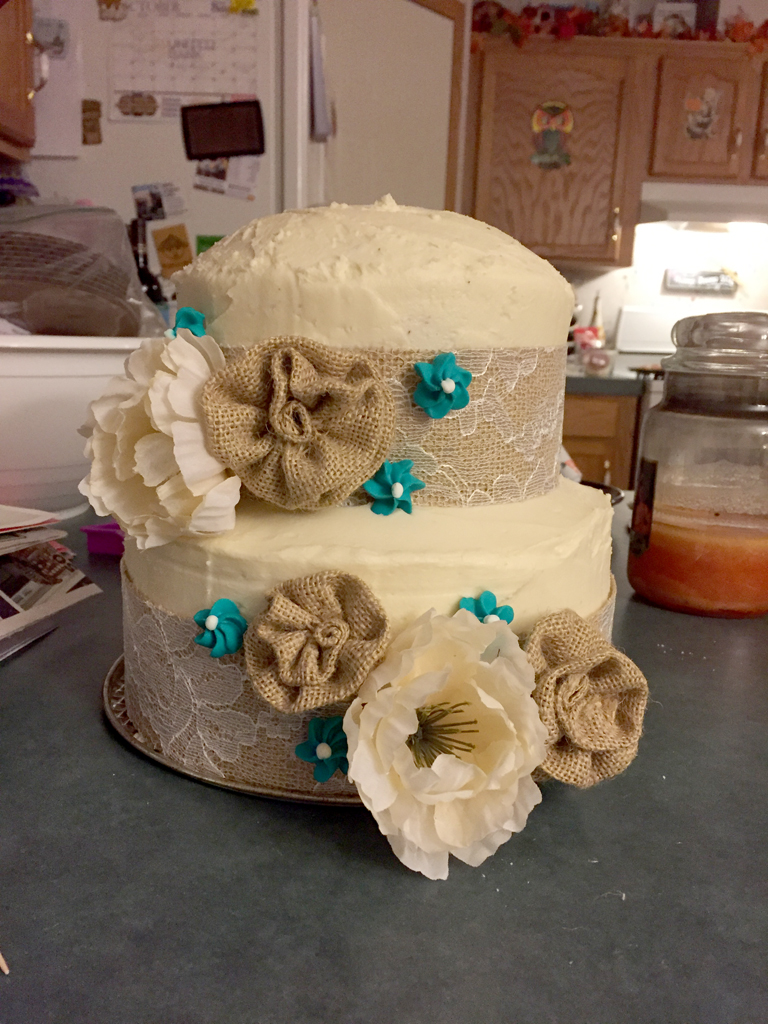
Easter’s come and gone, and all we have left from it is all the candy!! The tot received a healthy amount, but she’s been nice enough to share with me. My stash is slowly being eaten, but just like last year, there was too much to really know what to do with it, besides taking it all to work, and then someone else will have the same idea, and our table will be nothing but candy. Like it all followed me to work…..AAAAAAAAAAAHHHHH!! I even made this cake for work, double the sugar…yay!!!

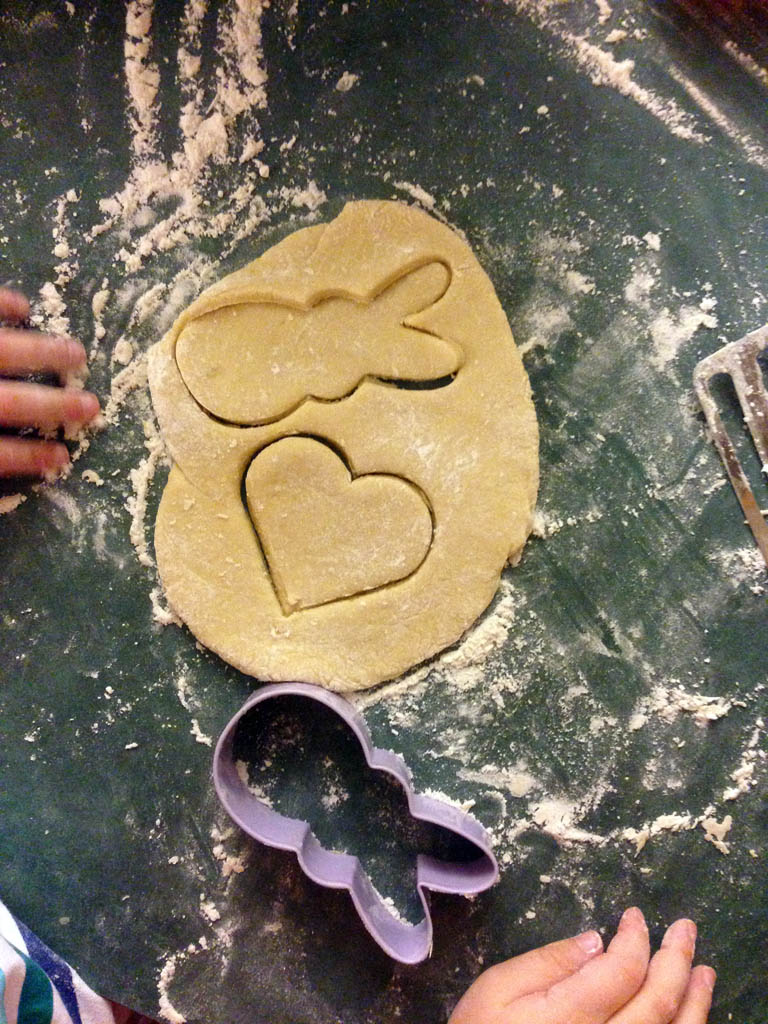
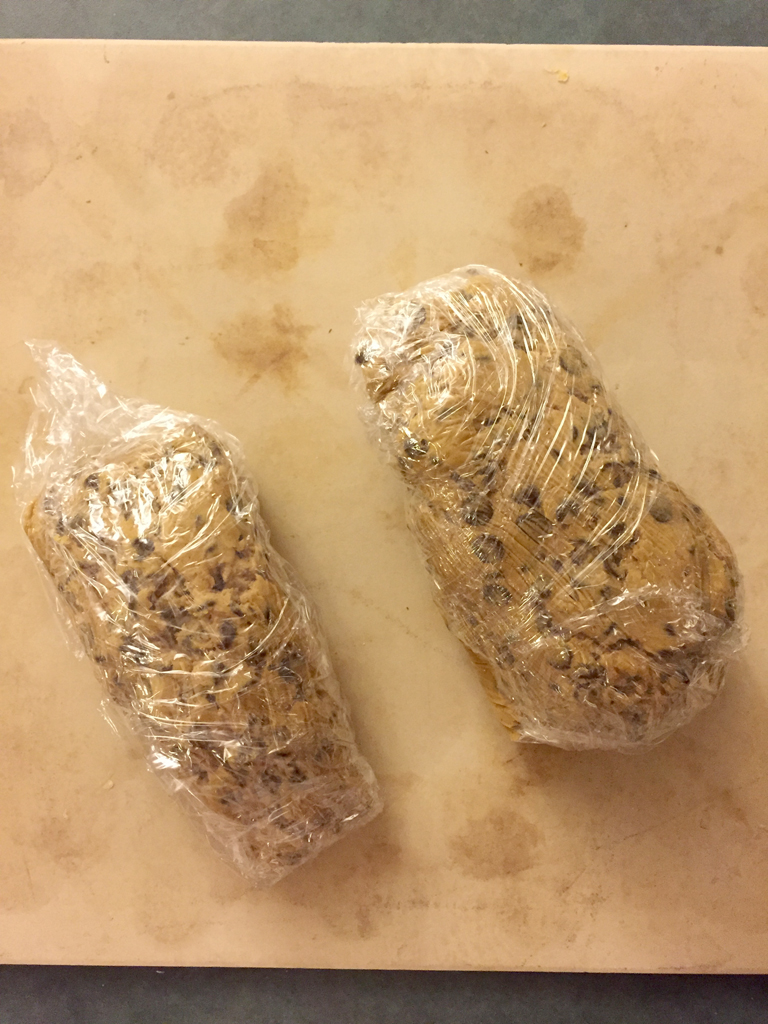
Last year I’ve come up with a really cool idea after staring at the heaping mound of sugar on the kitchen countertop: Make cookies out of this stuff!! Oh what a great way to get rid of it all!! Well, not all of it. 😉
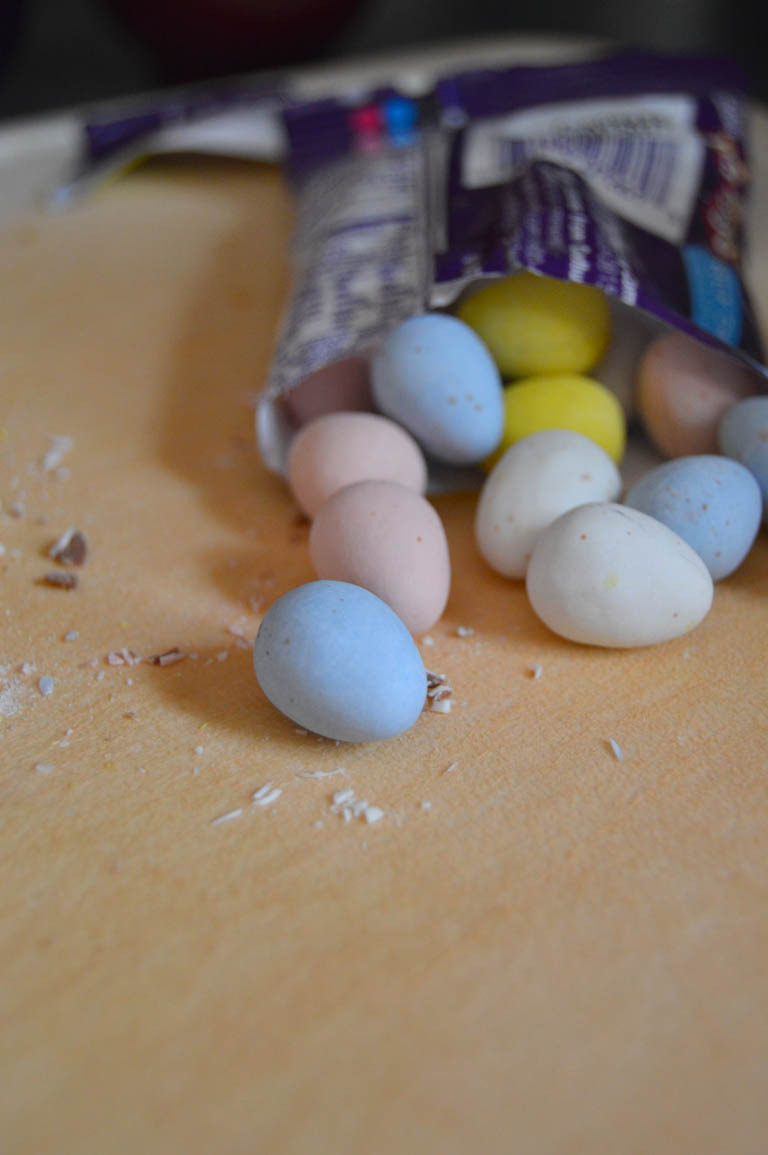
The past two times I’ve done this it’s been trial and error. Some candies do better than others; some you don’t dare put in, like my Peeps! And speaking of marshmallows, they don’t work as well anyway. They melt immediately and flatten your cookies along with it. They’re good, but they’re a bitch to remove from the silicone mat since they get sticky! Wanting to keep the thick, but yet soft, chewy cookie texture I settled with 3-4 candies that can be used in the dough. Last year I think I used Cadbury eggs, but this year I didn’t bother with them simply because the filling can make things pretty messy real quick.
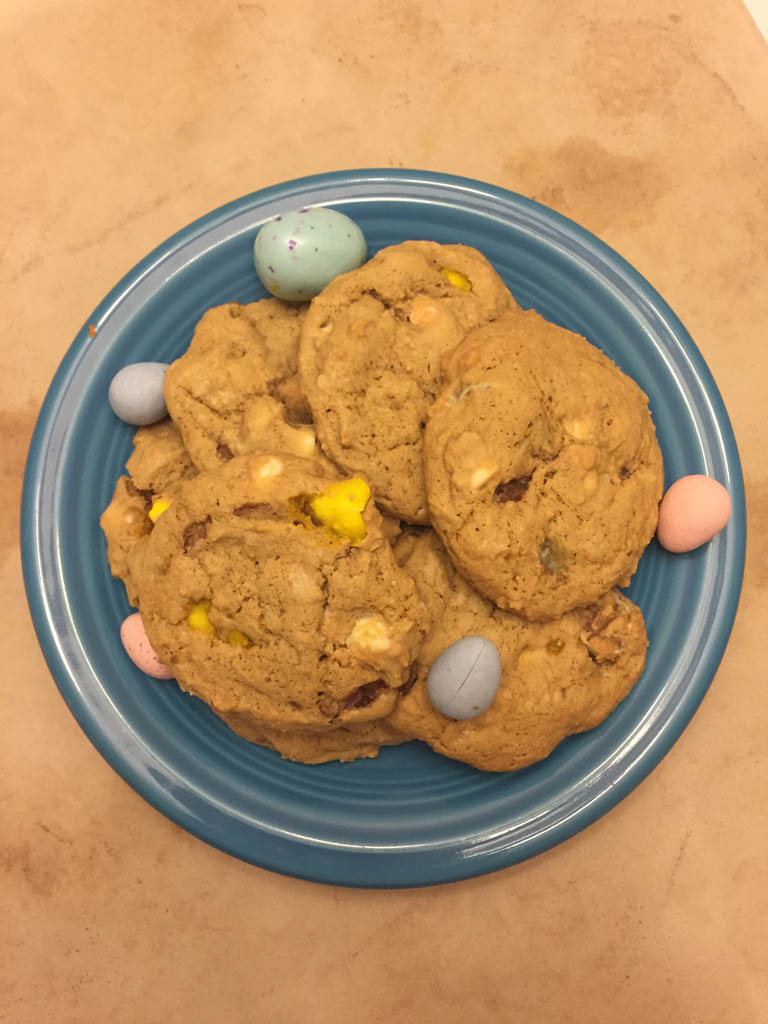
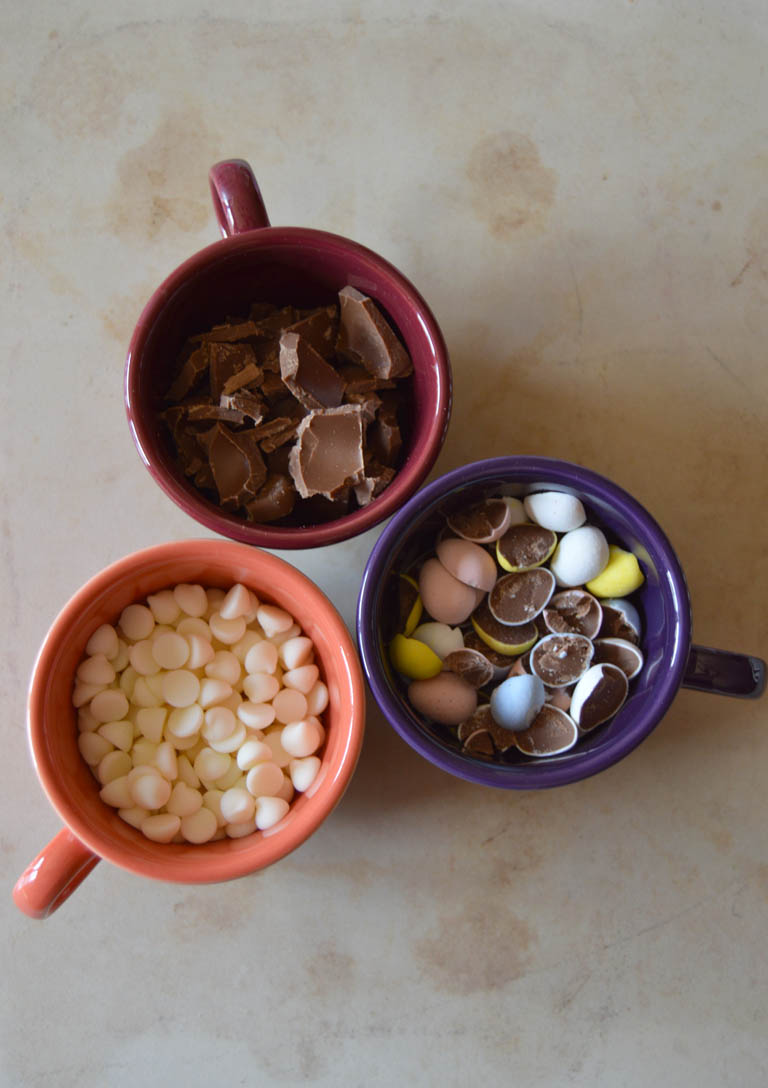
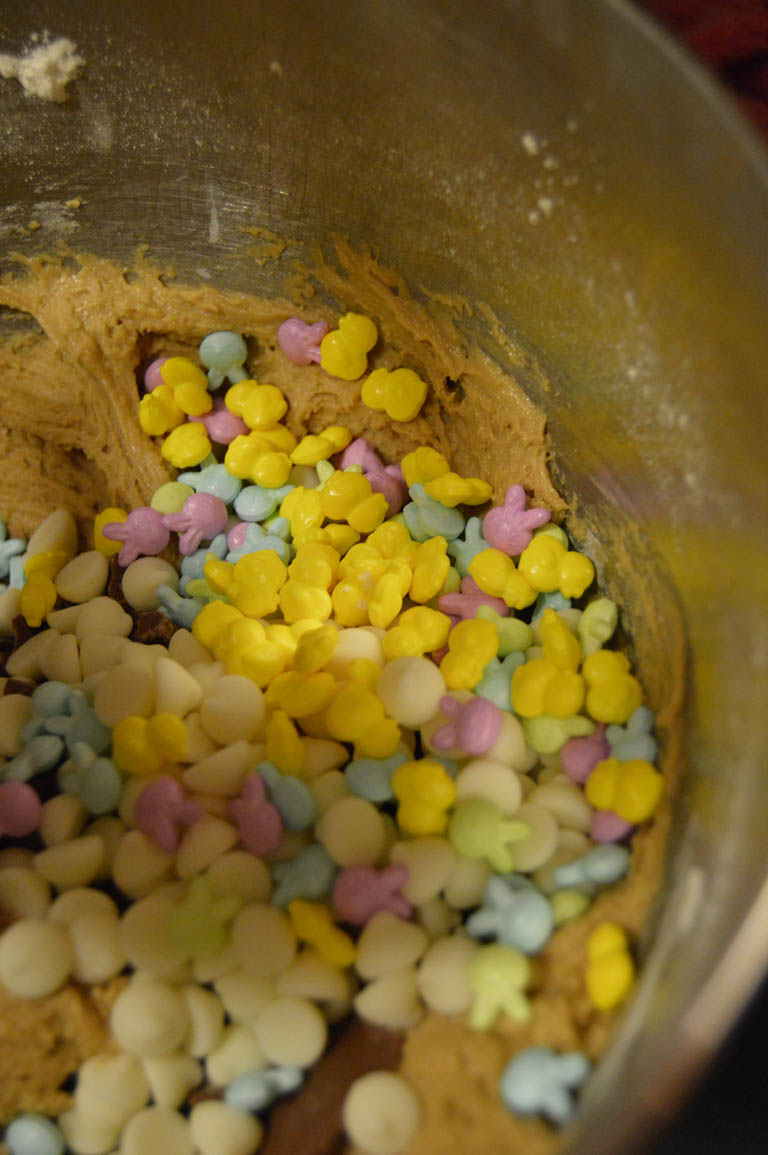
My brother sent me a pack of Robin’s Eggs to use in the cookies. They ended up in with the first batch that didn’t turn out as well as I wanted them, but they’re still good! So into the mailing package they go! The second batch turned out better, sans marshmallows. I used white chocolate chips, chopped up a chocolate bunny, halved cadbury mini eggs, and the rest of my spring-themed sprinkles. Colorful and springy, but some of the sprinkles actually melted! This second batch is going into my bro’s mailing package too! We did keep some for ourselves, but they didn’t last long, of course. One candy you could try is the chocolate/peanut butter candy, which of course, I didn’t use due to my peanut allergy, but I bet they’d taste just as yummy too! The chocolate chip cookie recipe I use is from a classic Hershey’s recipe book and I doubled it.
So until next time, I got another cookie project to do and then here comes graduation season….more cookies! Oh, and sometime soon I will share some spring-cleaning tips that’ll help get rid of the clutter in the kitchen and keep it organized. First we begin with the drawers….stay tuned!!!


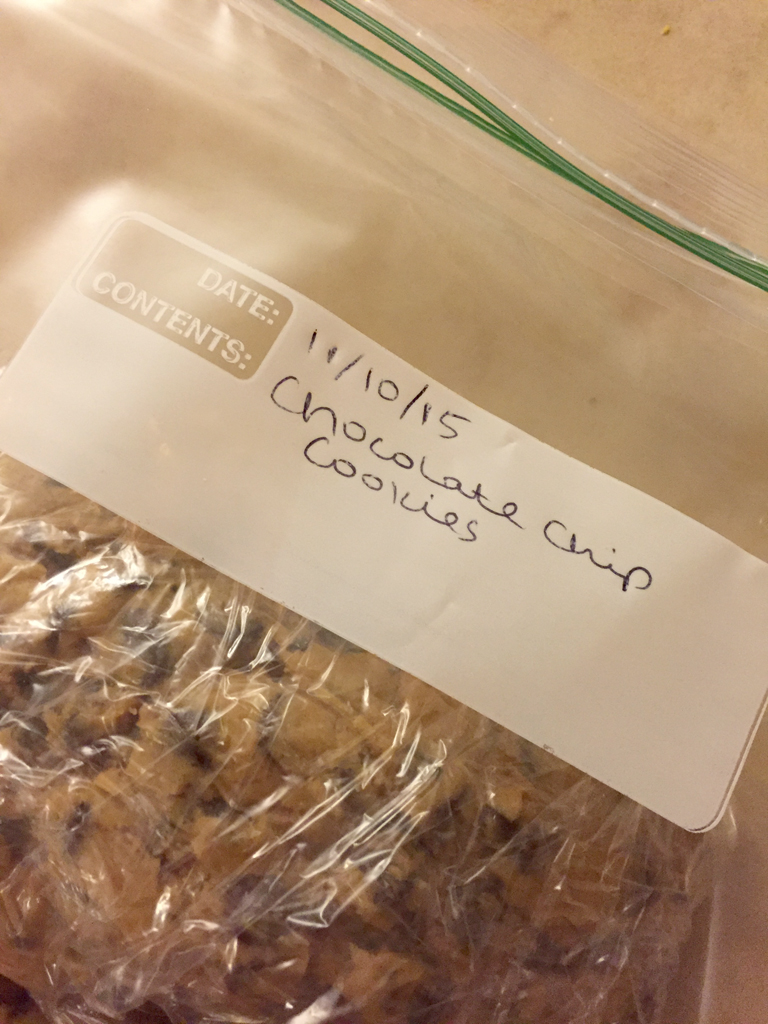
Leftover Easter Candy Cookies
Recipe from the Hershey’s Classic Recipes book
*Recipe was doubled
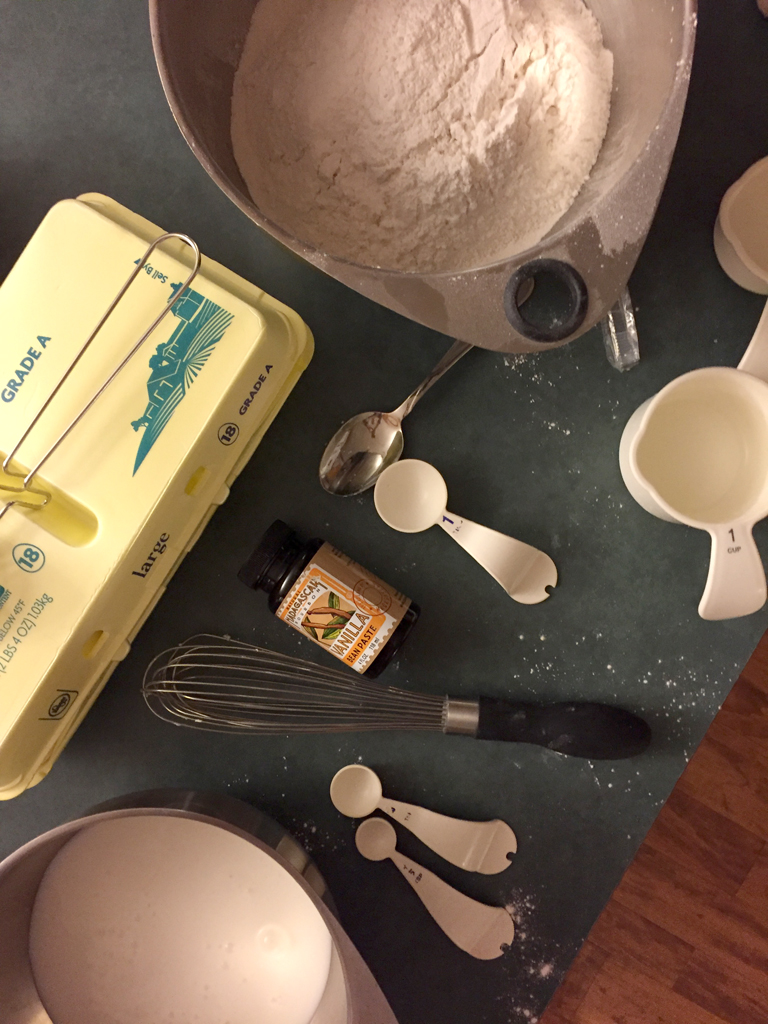
3 cups all-purpose flour
1 teaspoon baking soda
12 tablespoons softened margarine
1 cup dark brown sugar
1/2 cup granulated sugar
2 eggs
2 teaspoons vanilla extract
Chopped up Easter candy of your choice: I used Robin’s Eggs, Cadbury’s mini eggs, a small solid chocolate bunny, and Wilton’s Easter Sprinkles – 1/2 cup each
-
Preheat oven to 350 degrees. Sift together the flour and baking soda; set aside.
-
In a mixer bowl, cream together margarine, brown sugar and granulated sugar until it becomes light and fluffy. Add eggs and vanilla; combine well.
-
Gradually mix in the dry ingredients. Then add all your chopped up Easter candy and gently fold on low speed.
-
Using a medium-sized scoop, drop dough onto a greased cookie sheet or on a silicone mat. Bake for 13 minutes. For smaller-sized cookies, 8-10 minutes.*
-
Place cookies on wire racks to cool completely.
*Here are the type of scoops I use. I frequently use this medium scoop.